So, time is running out for this build and we are starting to feel the pressure. In episode 4 of this build, we do just that, build! We have to leave in a few short weeks and Dory has to be finished by then! Things are coming together though and it is very cool to see all the ideas that were born in the planning stages come to life.
Lights
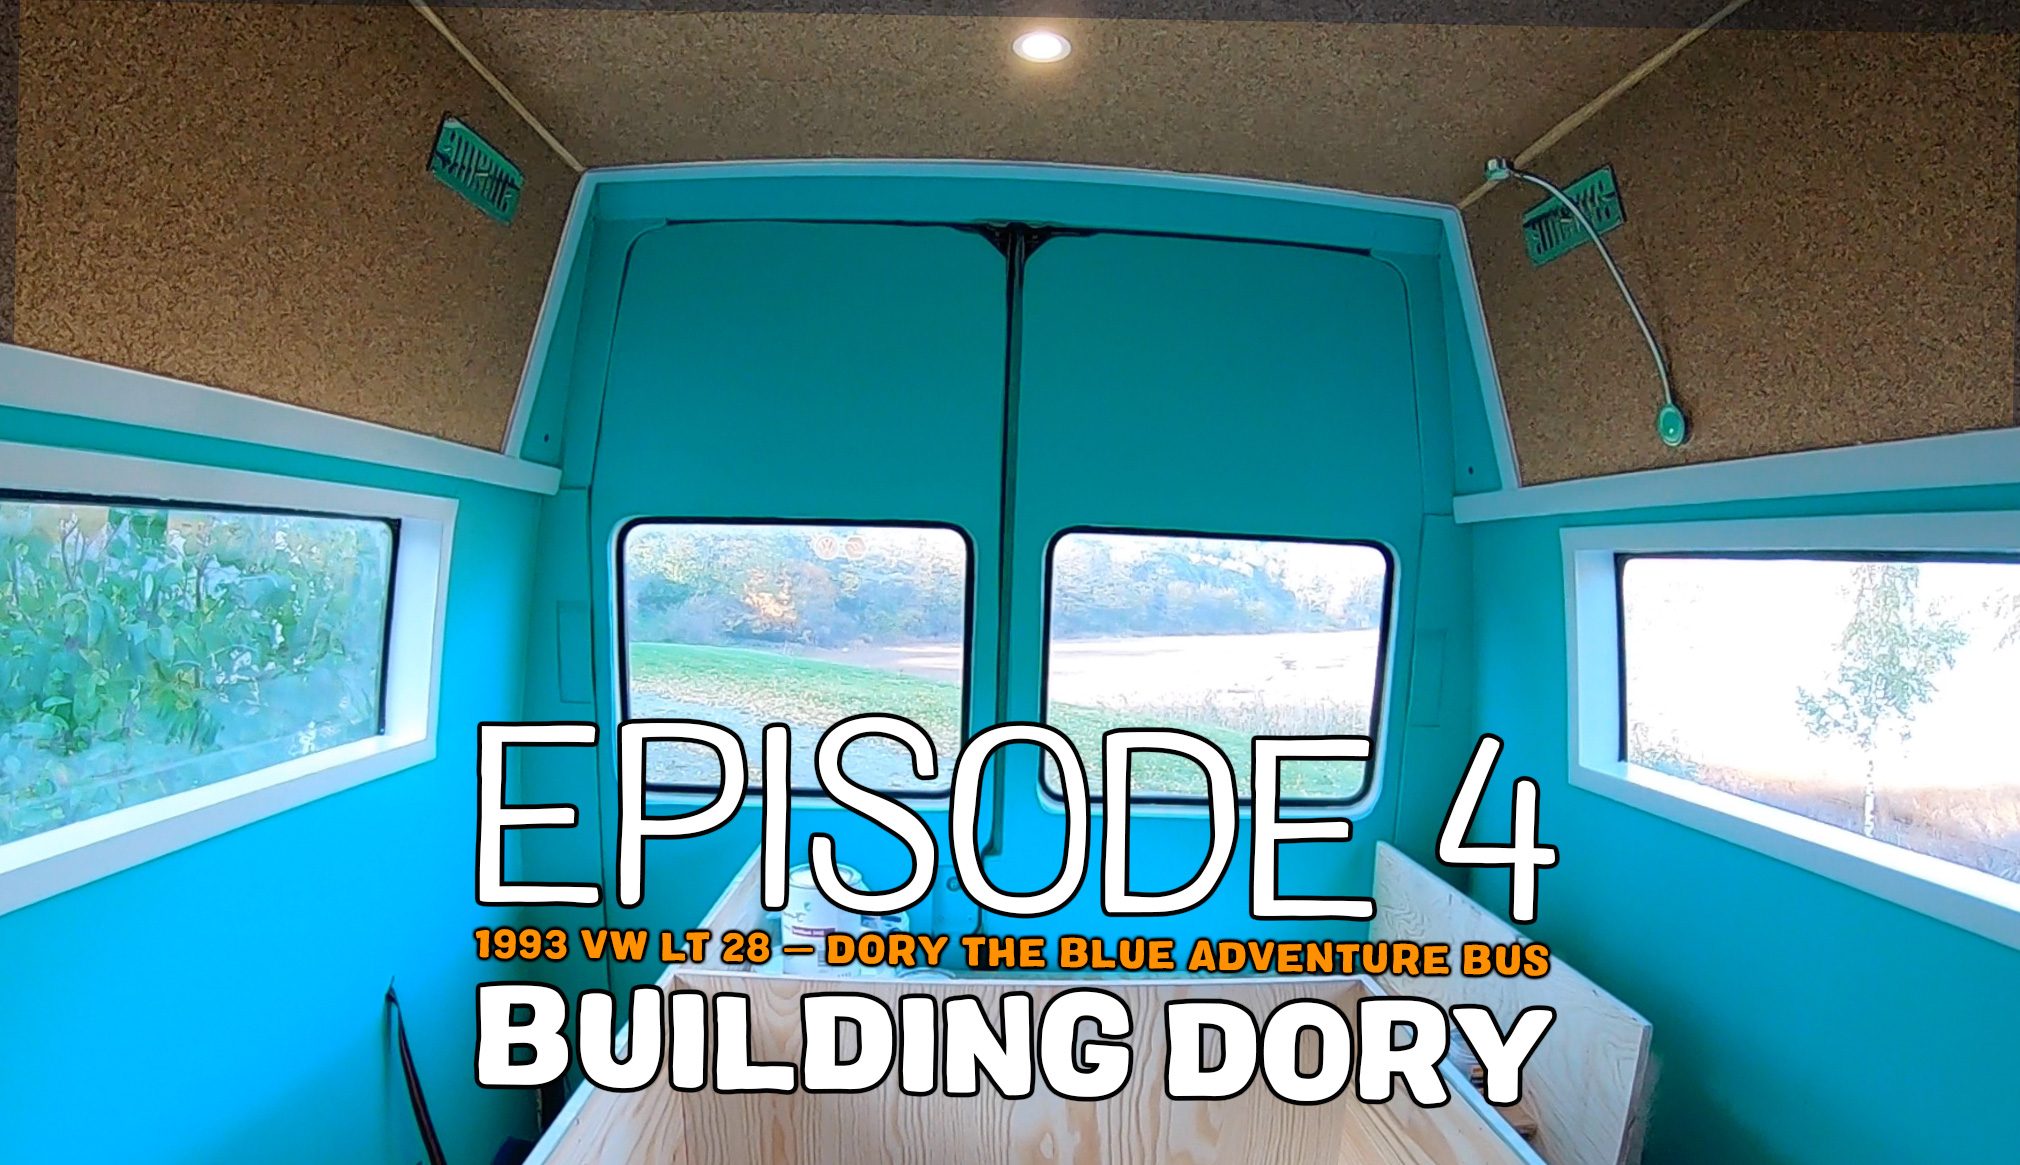
First things first. Winter is coming, and we are losing daylight, so we needed to get some lights installed. We are running a 12-volt system on solar, so we spent a lot of time researching lights before choosing these amazing Acegoo warm white dimmable LED (which is sort of a big deal) 12-volt DC spots. The all aluminum casing runs cooler which increases the lifespan of the lights and the super slim spring clip design made for an easy installation in our tight space. The coolest part about these is that they only draw 180 mA and 3W each so you can hook up to 10 of them parallel to the same switch.
We also installed a nice reading light over the bed. A cool streamlined swanneck design with two USB charging ports built in. Sweet!
Stereo
We love music, so we chose to install a simple but capable Bluetooth digital media system in the bus. The main reason for choosing this particular setup is to fill the hole we had in the front dash and speakers that fit into the walls on the van. We primarily stream music using our phones and now we can pair two phones simultaneously via Bluetooth and both control the sound in the bus with our phones. The whole system is running off the solar battery so we can use it as much as we like and not worry about running down the starter battery when we are parked up.
Floor
We also put in an awesome retro inspired vinyl floor in the van. This added yet another layer of insulation plus gave us a really light weight waterproof floor that is nice to walk on and easy to clean plus it looks amazing! We just cut it to size and glued it in place right onto of the plywood and we are sooo happy with the result!
Paint
Even with all the work that has gone into the build since last time, the biggest transformation this time around has got to be the paint. We are using a water based enamel paint, what they recommended for furniture, and it is drying nice and hard. We really wanted a playful and bold look that continued along the retro-inspired line of the cork ceiling and vinyl floor. We chose a turquoise blue for the walls, and at first painted the whole space in this beautiful color. But alas… you can have too much of a good thing. It was just way too blue, lol, so we had to rethink and scale it back a bit. By painting the windows white we created an homage to the classic VW kombi white and teal look and made out interior really bright and cheerful. Just what we had hoped for and we are super pleased with the outcome!
One special detail of this paint job is the magnetic paint. We painted the window frames with this crazy stuff in order to be able to attach the curtains to the walls using magnets. Since the walls of the van are leaning the curtains will not properly block out the light from the windows without help, sowing magnets into the edge of the fabric will solve the problem by allowing us to attach the fabric to the window frames. Excited to see how this idea pans out.
Accessories installed
LIGHTS
Acegoo Super Slim LED Panel Light DC 12V 3W Full Aluminum Downlights
LED Flexible reading Light with twin USB ports
STEREO
Head unit: JVC KW-X830BT 2-DIN Bluetooth Digital Media Receiver
Speakers: GAS silver GS62, 6.5 inch coaxial
VINYL FLOOR
PAINT
So, there are still a million things left to do on this build, but we feel really good about the progress. Next time we will hook up all the cool things we have been preparing for all this time… bed, storage, kitchen, plumbing etc… so stay tuned.







Learning lots, thanks to both of you.
Sweet as mate. 🙂